Over at
Papercraft Star, we are in the midst of a Back to School themed challenge. The goal was to use a die cut system of some sort. I used my Cricut Expressions & Stretch Your Imagination Cartridge for the adorable, yet whimsical little bus.
Supplies:
Cricut Machine
Stretch Your Imagination Cartridge
Blue Metallic Cardstock (I used TPC Studios Royal Blue Shimmer, since once side is darker (base) and one is lighter (embossed layer)
Kraft Cardstock
Sakura White Gelly Roll Pen
Hemp Twine
Black Pen
Cuttlebug Embossing Folder, Circles
Directions:
1. Cut your metallic dark blue cardstock to 8.5X 5.5. Fold in half, hamburger style.
2. Cut a yellow mat at 4X5.25. Stick down.
3. Cut a lighter blue metallic layer at 3.75X5 and emboss using the 'circles 'Cuttlebug Folder. on one side, wrap a few times with natural twine (I used hemp twine), and double knot to hold. Then adhere onto yellow mat.
4. Using the Stretch Your Imagine Cricut cartridge, cut each layer of the schoolbus, in the colors you choose. I usedmy Gypsy and hid all the contours of the shadow cut, and cut in Kraft Cardstock.
5. Glue layers together, and using pop dots, adhere to the card front.
6. Cut the tag @ 2". Add a white square- and scribble your note on.
7. String the tag through one of sides of cording, and tie it on loosely.
Embellish as you wish. You could easily add some glitter, I added white dots with a gelly pen, as well as colored where the hubcabs on the bus would be silver. I hope you can come over and play along! Entries can be linked until Friday @ Midnight EST.
And voting starts bright and early Saturday Morning, and goes through Monday.
Winners will be announced Tuesday.
Enjoy!
Dawn


 For
For 




 Bows top this bag off, and add a little dimension to the handle as well!


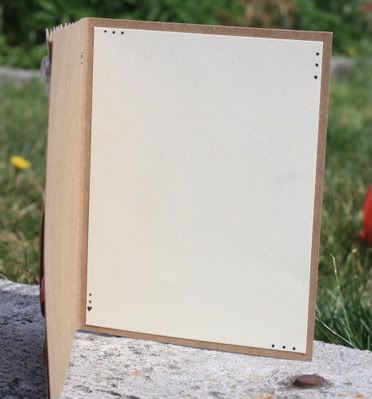
 This is the inside, I decided to mat it, so it would be easier to write in.